 Written by Mark Bailey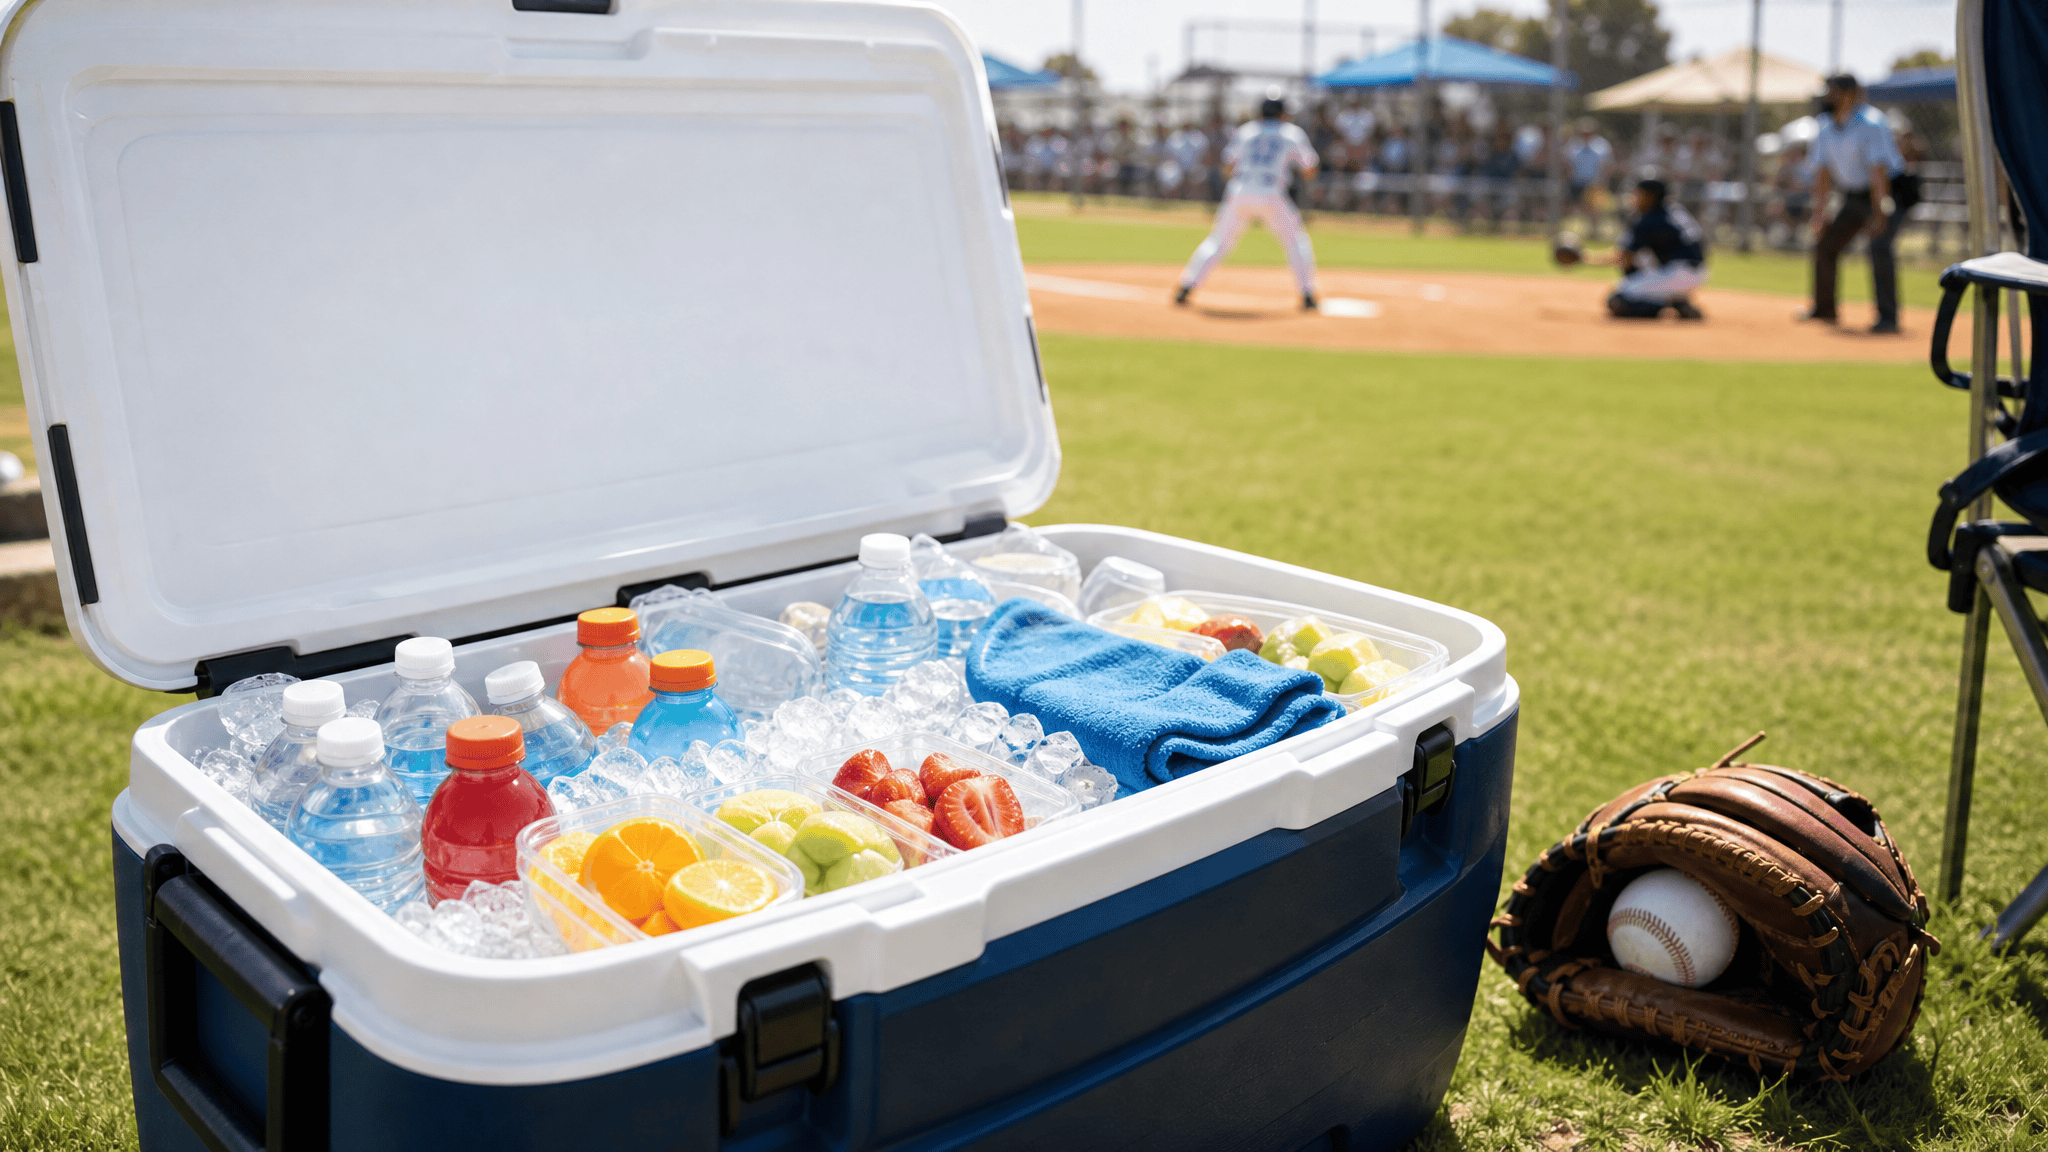
By game three of a Saturday tournament, you can spot the moms who packed right and the ones who didn’t. One kid is chewing frozen grapes in the shade with a cold rag on his neck. The other is melting down over an overpriced warm Gatorade from the concession line because the family cooler held two juice boxes and a bag of chips that turned to crumbs.
Tournament days are long. Six, eight, sometimes ten-plus hours across back-to-back games, usually in the kind of July heat that makes the metal bleachers a bad idea. The cooler you haul out of the trunk is not a lunchbox. It’s the hydration station, the snack bar, the first-aid cool-down, and the reason your kid still has legs by the championship game.
Here’s what actually goes in a tournament mom’s cooler, zone by zone, so you’re the one in the shade and not the concession line.
1. Start With a Cooler That Can Survive the Whole Day
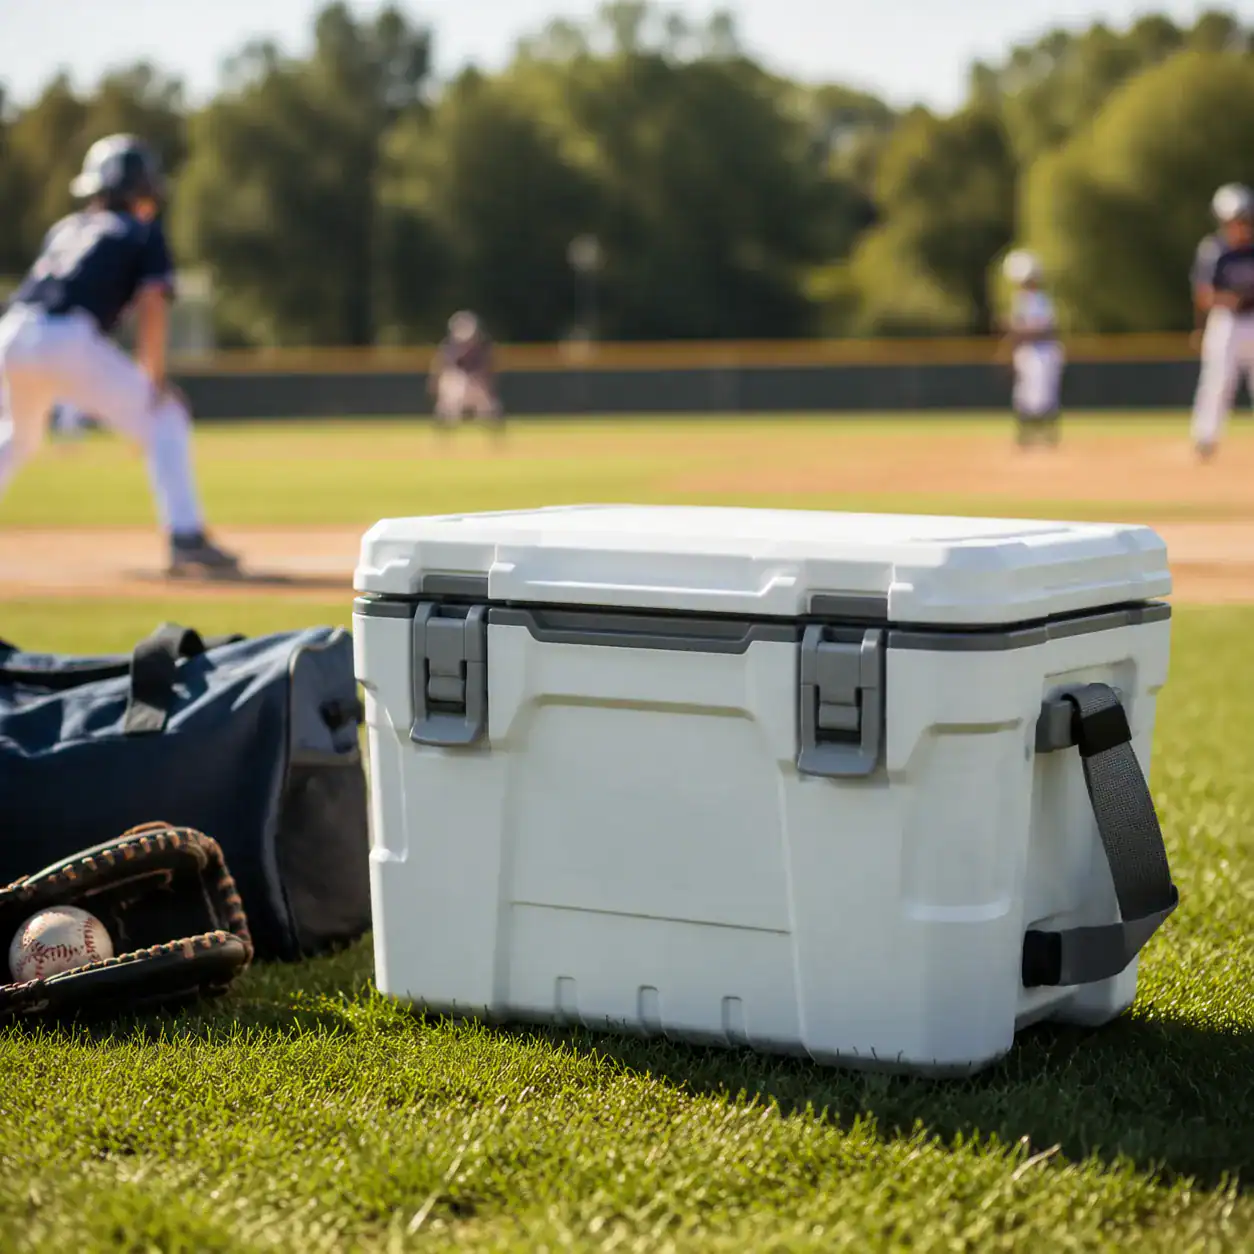
For one family at an all-day tournament, a 25 to 30 quart cooler is the sweet spot. That’s roughly 30 to 40 cans of room once you factor in ice, which covers drinks, snacks, and cold packs without turning into a two-person carry. The Igloo Trailmate 25qt gets named a lot for exactly this reason.
Feeding a whole dugout or packing for a multi-day event? That’s when families jump up to the 45 to 70 quart range. A little 20-quart is fine as a single-game grab-and-go, but it’ll tap out fast on a real tournament day.
The one feature that matters more than brand: wheels. Complexes love to put parking a long walk from the field, and a loaded cooler gets heavy right around the time you’re also carrying chairs and a bat bag. The Yeti Tundra Haul (the first wheeled Yeti) and the wheeled Igloo Trailmate and Coleman models come up over and over for this. If Yeti money makes you wince, RTIC has gone a bit viral in travel-ball circles as the cooler that performs like the big name for roughly half the price.
A soft-sided backpack cooler earns its spot as a second, smaller stash. Hands-free, easy to grab for a quick snack between innings, and it keeps you from digging through the main ice chest every time somebody wants a cheese stick.
One honest note on the ice-retention numbers you’ll see quoted. Coolers get thrown around at three to four days for a Yeti Tundra and up to ten days for an RTIC hard cooler. Those are marketing claims, not lab guarantees, so treat them as “this thing holds ice well,” not gospel.
2. Get the Hydration Layer Right

This is the section to actually get right, because it’s the one with real safety behind it.
Water first. For anything under an hour of activity, plain cold water does the job, and cold water absorbs faster and cools kids better than the room-temp bottle that’s been rolling around the car. Once games and warmups stretch past an hour, that’s when a sports drink with electrolytes and a little carbohydrate starts earning its keep. The general guidance points to drinks in the 5 to 8 percent carbohydrate range.
Sports drinks and energy drinks are not the same thing, and the American Academy of Pediatrics is blunt about it: skip energy drinks for kids entirely. The caffeine and “energy enhancing” ingredients that make them energy drinks have no place in a youth athlete’s cooler. A bottled sports drink, yes. The stuff in the tall skinny cans, no.
On electrolytes, a rough starting point that gets tossed around is about 250mg of sodium per hour of activity for a kid, which is roughly what’s in 20 mini pretzels. Treat that as a ballpark and not a prescription, and don’t go overboard trying to hit a number. Exact sodium needs are worth asking your pediatrician about if your kid is a heavy sweater or cramps a lot.
Want a budget swap for bottled sports drinks? A homemade version floats around the youth-sports world: 5 cups water, half a cup of orange juice, 5 tablespoons of honey, and a quarter teaspoon of salt. Sports drinks in general are an event-day thing, not an everyday drink, since regular use adds up to a lot of extra sugar.
While we’re on heat, know the warning signs, because tournament weather is exactly when heat illness shows up. Watch for muscle cramps, dizziness or headache, nausea, either heavy sweating or cold clammy skin, drowsiness, confusion, or a kid who suddenly seems uncoordinated. A body temp above 104 with confusion is heat stroke, and that’s a medical emergency: get help immediately, don’t try to wait it out.
A few things stack the deck in your favor too. Keep kids out of the worst sun between 10am and 3pm when the schedule allows, dress them light and loose, and stash a couple of frozen water bottles that thaw into ice-cold drinks by afternoon.
3. Pack the Pre-Game and Quick-Energy Snacks

The pre-game snack, 30 to 60 minutes before first pitch, should be high-carb and easy on the stomach. Nothing heavy on fat, protein, or fiber that’ll sit there while your kid is trying to run. Think bananas, grapes, clementines, pretzels, crackers, a granola bar, fruit snacks, dried mango.
If you’ve got real time before the game, three or four hours out, you can go more balanced: a turkey and cheese sandwich, a peanut butter and banana bagel, overnight oats, a grain bowl. Carbs with a little protein, nothing that needs a fork and a table.
Frozen grapes deserve their own shout-out. Toss a bag in frozen and they pull double duty, half snack and half ice pack, and they’re weirdly perfect on a scorching afternoon. My kind of multitasker.
4. Have a Between-Games Plan for the Short Gap

The trap on tournament days is the short gap. You’ve often got less than an hour between games, everyone’s hungry, and it’s tempting to hand over a full meal. Don’t. Heavy food before the next game is how you get a kid with a side stitch in the second inning.
Keep between-game snacks light and carb-forward with just a touch of protein. Yogurt cups, cheese sticks, a small handful of nuts, jerky. Rice cakes are a sleeper pick here because they fill the gap without sitting heavy.
Portion things out ahead of time. Squeeze pouches, single-serve bags, and pre-bagged handfuls beat one big shared container every time when you’re moving fast between fields and nobody’s hands are clean.
Save the real meal for after. Once the last game is done, within an hour or two, that’s when the carb-plus-protein recovery food comes out: pasta, a sub, a rice bowl, pizza. Even ice cream gets a pass here for quick energy. Nobody’s earned it more than a kid who just played three games in the heat.
5. Don’t Forget the Cooling Aids

Not everything in the cooler is food. Some of the best stuff you’ll pack doesn’t get eaten.
The oldest trick in the book: cold wet rags in a zip-top bag, buried in the cooler. Pull one out each inning for the back of the neck or the forehead. The upgrade a lot of veteran moms swear by is keeping a small separate tub of ice water just for the rags, so they come out actually cold instead of merely damp.
Reusable cooling towels, the snap-to-activate kind, are the other favorite. They chill back down with a little water and a shake, and they last all weekend. Between frozen bottles, cold rags, and one of these draped around a neck, you can keep a kid functional through the hottest part of the afternoon.
6. Pack It So It Survives Six Hours in the Heat

A cooler is only as good as the way you load it. The rule is cold-to-warm, bottom to top.
Ice and frozen packs on the very bottom. Then your perishables, the dairy and the protein, sitting low where the cold air pools. Delicate stuff (fruit, bread, anything that bruises or squishes) rides on top in a bin or basket so it doesn’t get crushed under a bag of ice.
Zone the cooler so you’re not excavating. Dividers, bins, or baskets let you group by type or by timing, one side for morning snacks and the other for lunch and dinner. Keep the high-traffic grabs like juice boxes and fruit near the top where little hands can reach without unpacking the whole thing.
Bury drinks in their own bed of ice, separate from the food layers. They stay coldest that way, and you can grab a cold water without disturbing the sandwiches. Clear bins are worth it here too, and not just inside the cooler. A clear bin for the dry snack stash in the car means you’re not losing a bag of pretzels under a seat between games.
7. Know Why the Cooler Pays for Itself

Here’s the part that turns a nice-to-have into a no-brainer. Buy every meal and snack at the venue and you’re looking at roughly $75 to $150 a day for a family, because concession prices commonly run about triple normal retail. That warm bottled water is marked up like a movie theater.
Zoom out and a weekend tournament away from home can run $400-plus per family once you add lodging, gas, and gate fees. Most of that you can’t control. The cooler is one of the few line items you can, and eating from it at the field instead of the restaurant strip (plus carpooling) is where the real savings live.
So that wheeled cooler isn’t the expense. It’s the thing that cancels the expense, one tournament at a time.
The Bottom Line
A tournament cooler isn’t about packing more. It’s about packing on purpose: the right size box on wheels, cold water and the right sports drink, snacks matched to the clock, a few cold rags, and a loading order that survives the afternoon sun.
Do it once and you’ll never go back. Because the mom in the shade with the frozen grapes and the ice-cold rags isn’t lucky. She just packed the cooler like she’d done it before.